
How to Polish Concrete
Polished concrete is becoming more popular in a wide variety of applications. It is often seen in retail and institutional environments for a clean, hygienic look and the ease of maintenance under high-traffic conditions. By choosing to leave the concrete exposed as a finish also eliminates the material and energy consumption associated with adding a floorcovering.
The process of mechanically polishing concrete is like scratching the surface until the scratch patterns become too fine to see. To effectively polish concrete, it must be hard enough since the harder the concrete, the better it will take a polish. This is why before polishing we recommend sealing concrete with Lithi-Tek 4500. Densifiers like Lithi-Tek 4500 react with calcium hydroxide trapped in the concrete to form additional calcium silicate hydrate, filling the pores and increasing surface hardness. Lithi-Tek 4500 will react with the ingredients in concrete to densify while allowing deep penetration to chemically harden and fortify the substrate. After the chemical reaction occurs, the substrate will be more abrasion resistant and help protect the surface from wear, moisture and efflorescence while remaining breathable. Concrete, left untouched, presents a problem to polishing: The surface is usually not hard enough to polish especially since the surface is usually the softest layer. By applying a chemical densifier to concrete before polishing like Lithi-Tek 4500 this problem is solved.
A basic polished concrete process is:
Prep the floor
Remove coatings, glue, paint, contaminants
Repair cracks/spalls
Check flatness and hardness
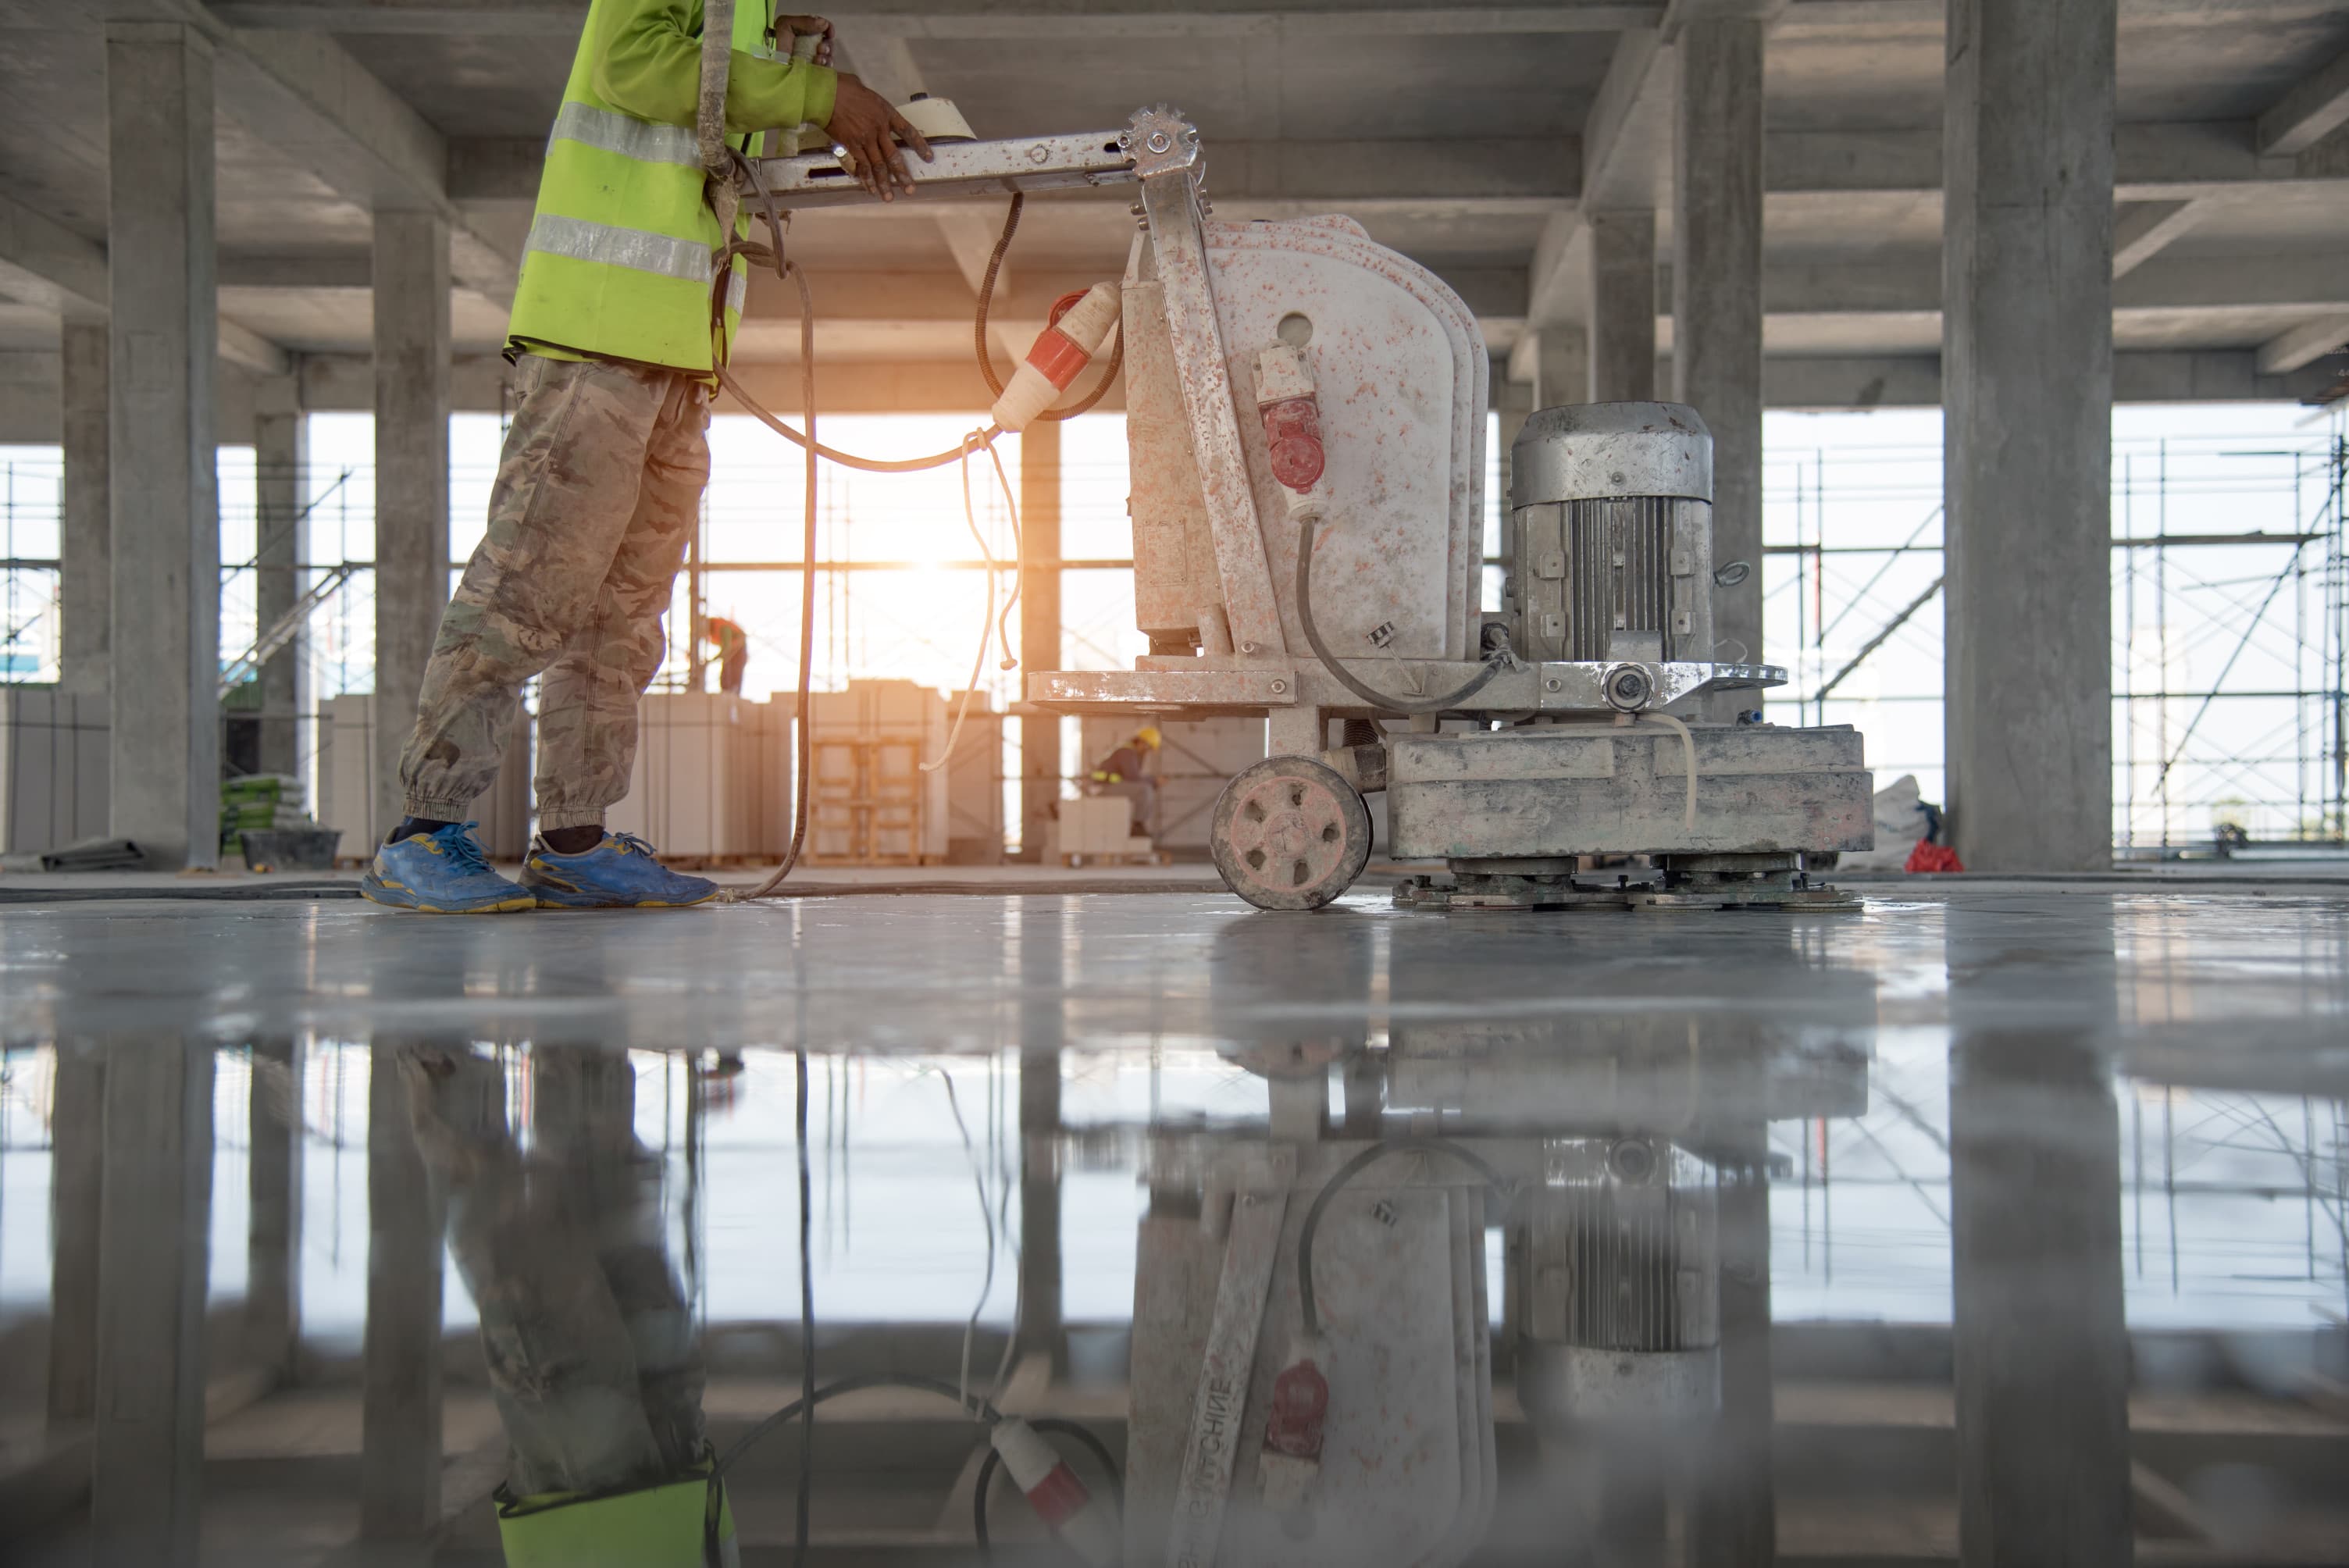
Initial grinding (cutting stage)
Use metal-bond diamonds (typically 30/40 grit → 80 grit)
This opens the concrete and removes imperfections
Heavier cuts expose more aggregate
Densify
Apply a concrete densifier like the Lithi-Tek 4500
Hardens the concrete surface and improves polishability
Continue refining
Transition to finer grits:
100/200 resin
400 resin
800 resin
1500–3000 for high gloss
Each step removes scratches from previous grits
Optional stain/dye
Add color after early grinding stages if desired
Burnish / protect
Apply guard or stain protection if specified
Burnish for additional sheen and easier maintenance
Typical finish levels:
200 grit = matte / satin
400 grit = low sheen
800 grit = semi-gloss
1500–3000 grit = high gloss mirror finish
