
Epoxy Max 100 DSD
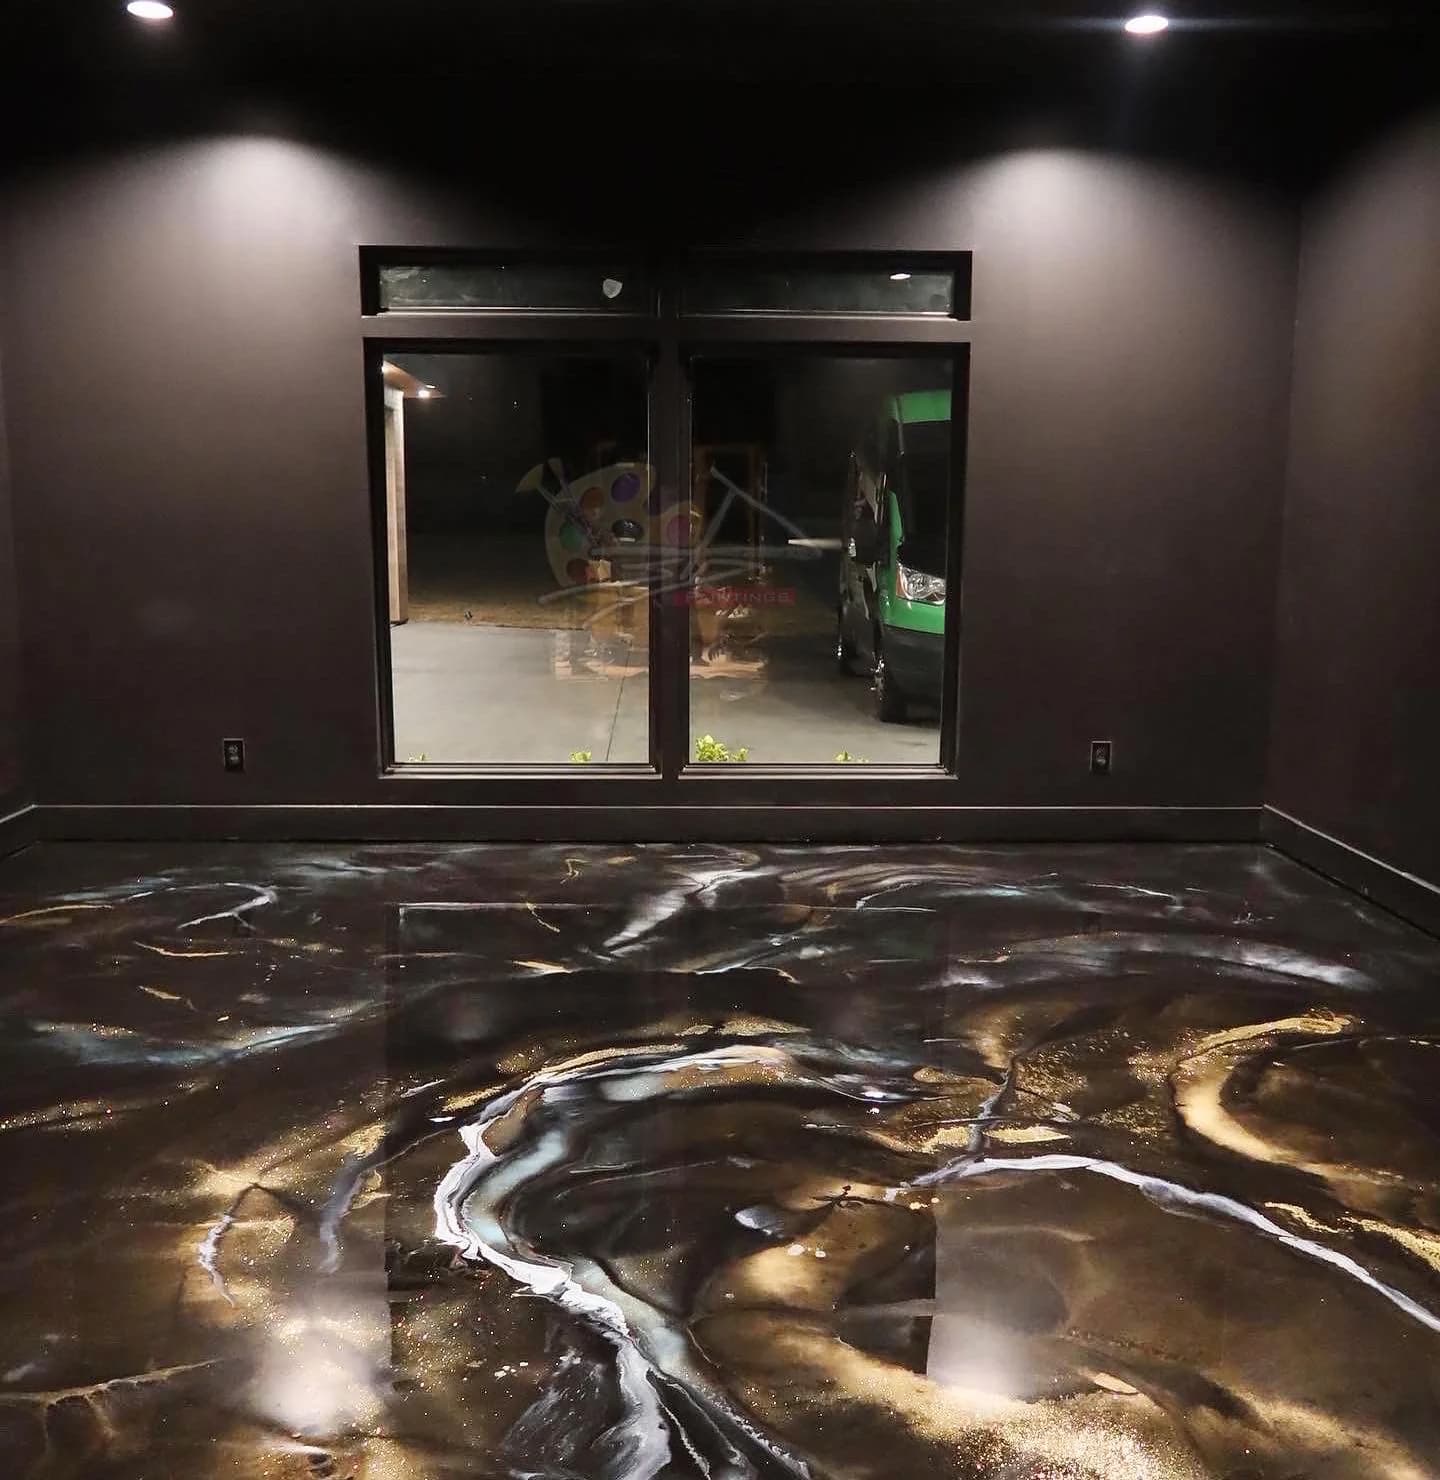
Take projects to the next level with an epoxy trusted by top floor artist Derwin Scott. The ultimate epoxy for creating stunning finishes that change the game and will transform any floor into pure FIRE! It offers unmatched durability and ease of flow.
Epoxy Max 100 dries clear - Add solid color, flake, or metallic additive with the add-ons below.
Final Sale
Add-ons

Do Something Different
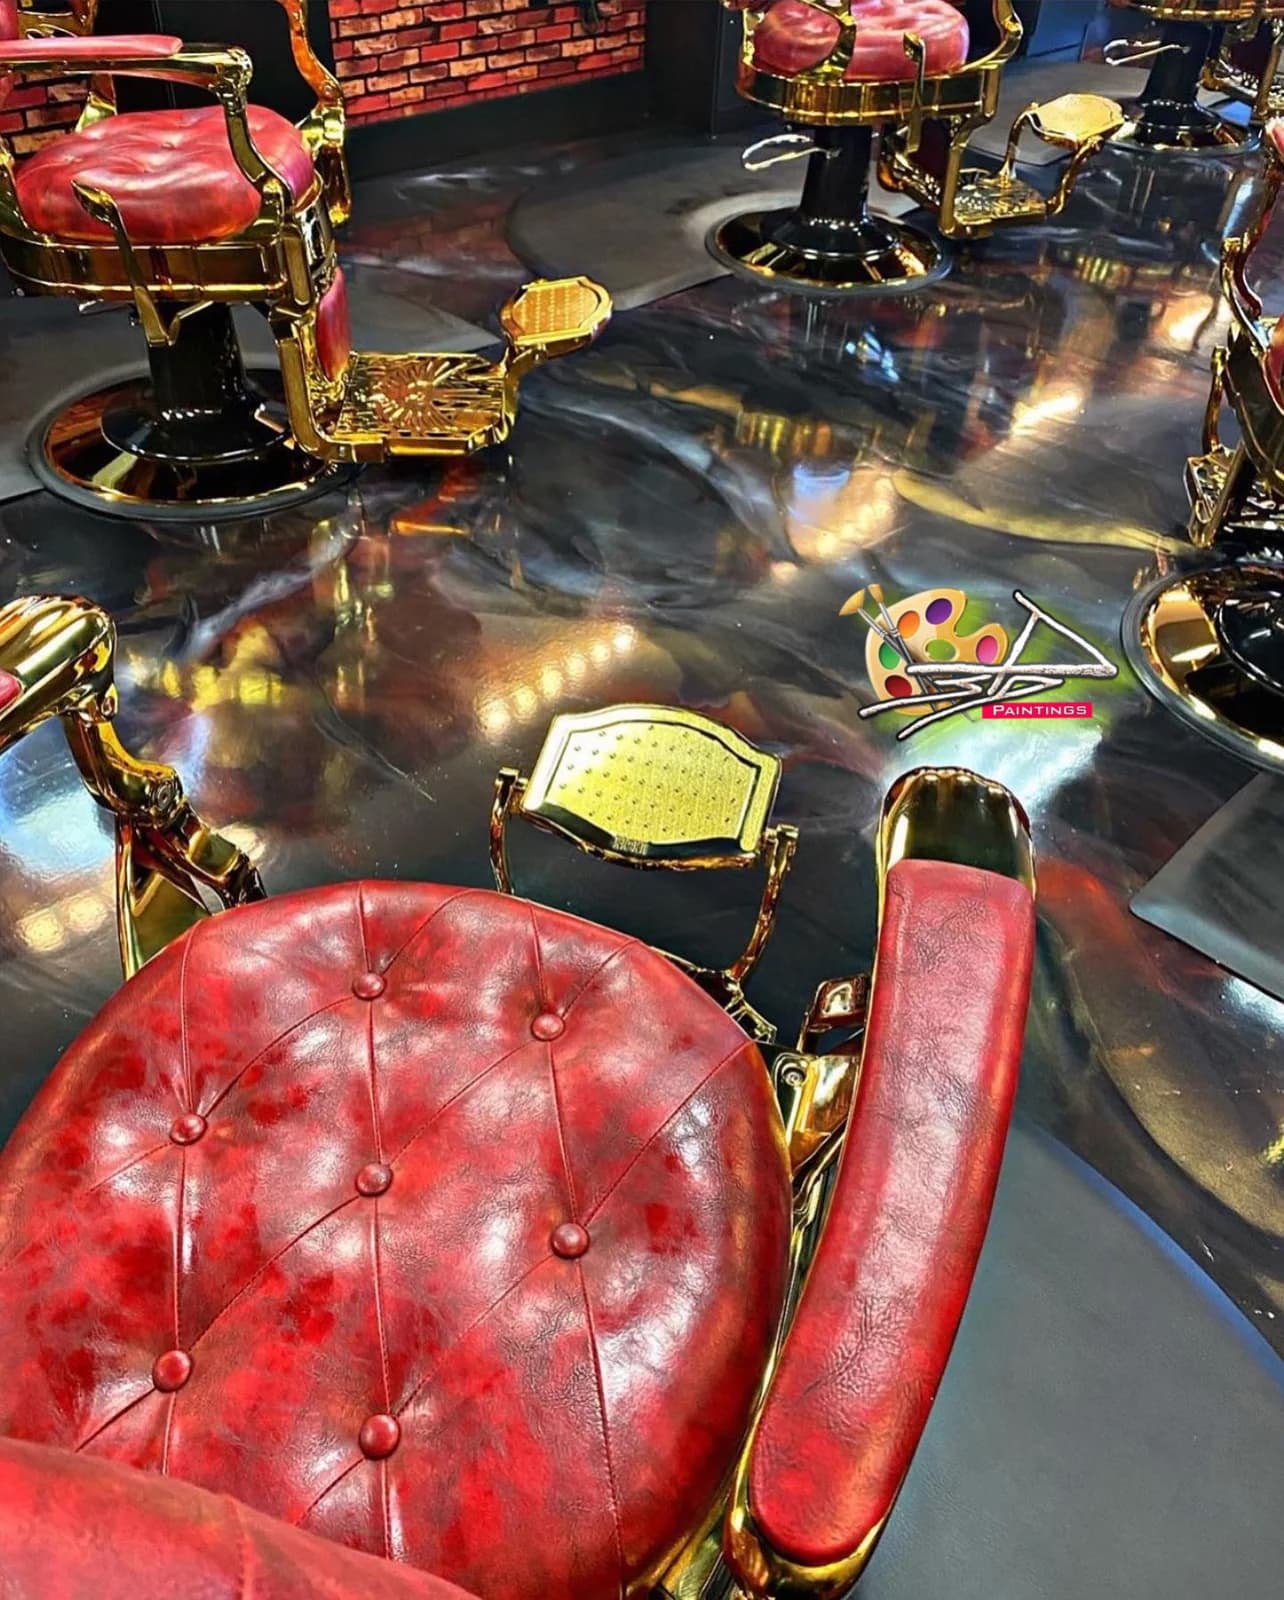
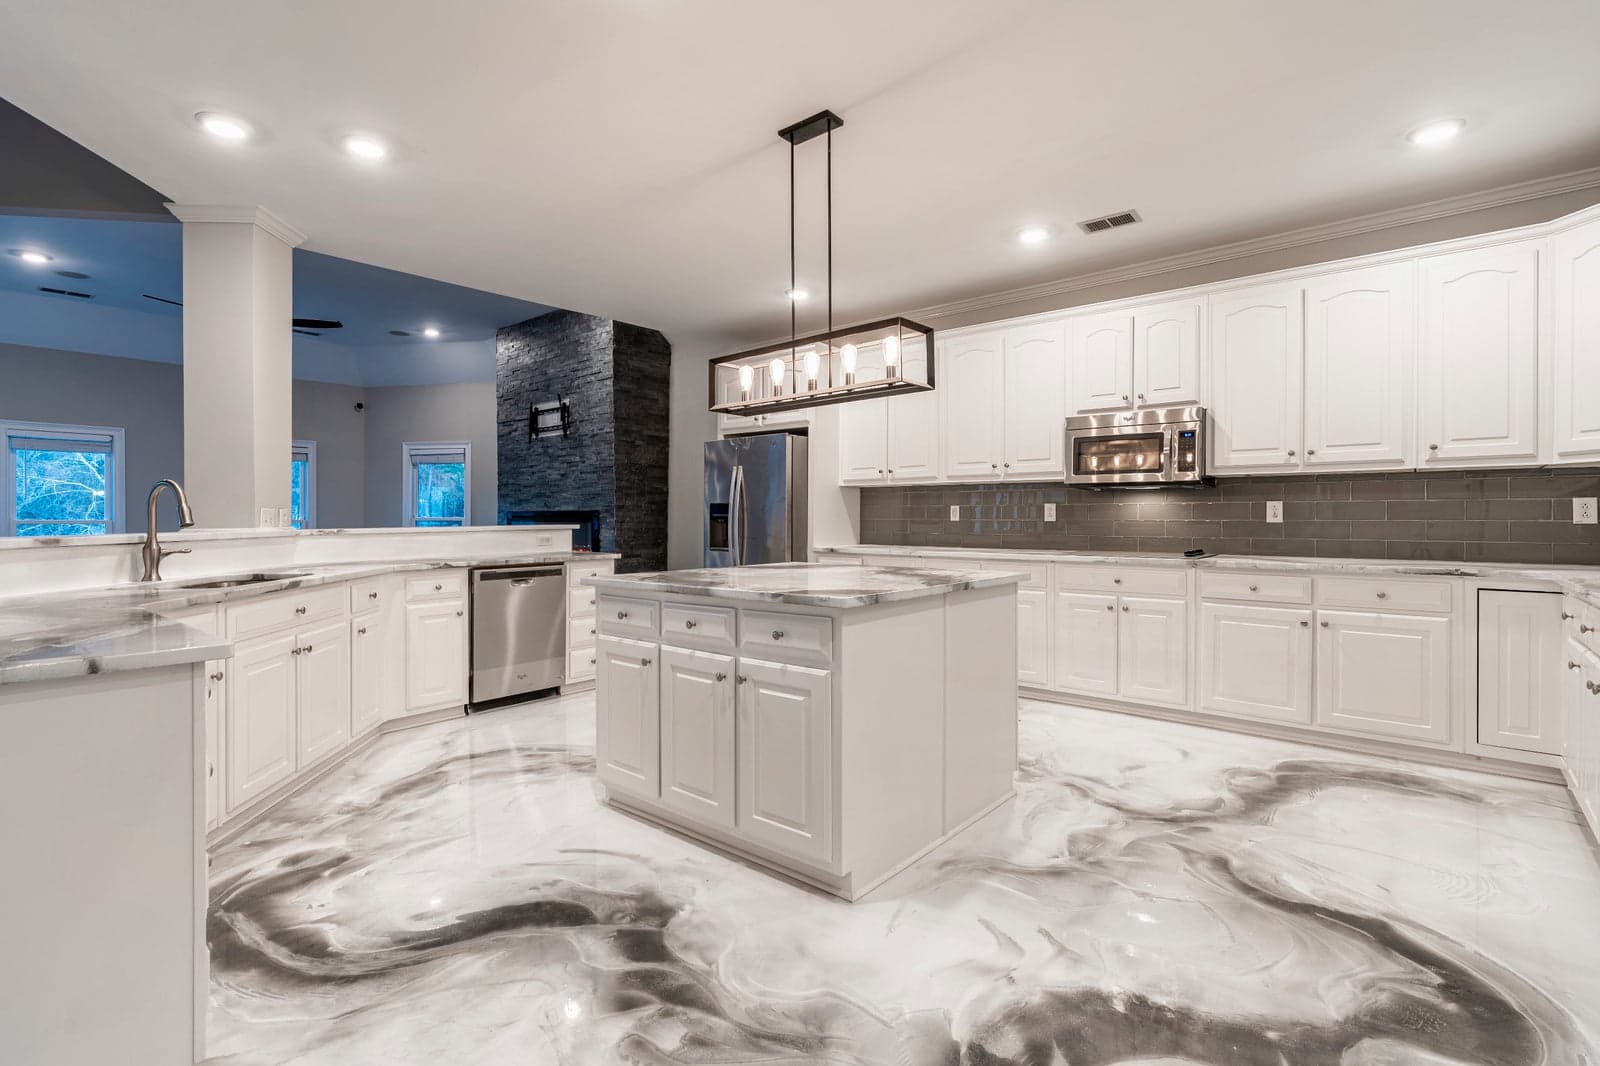
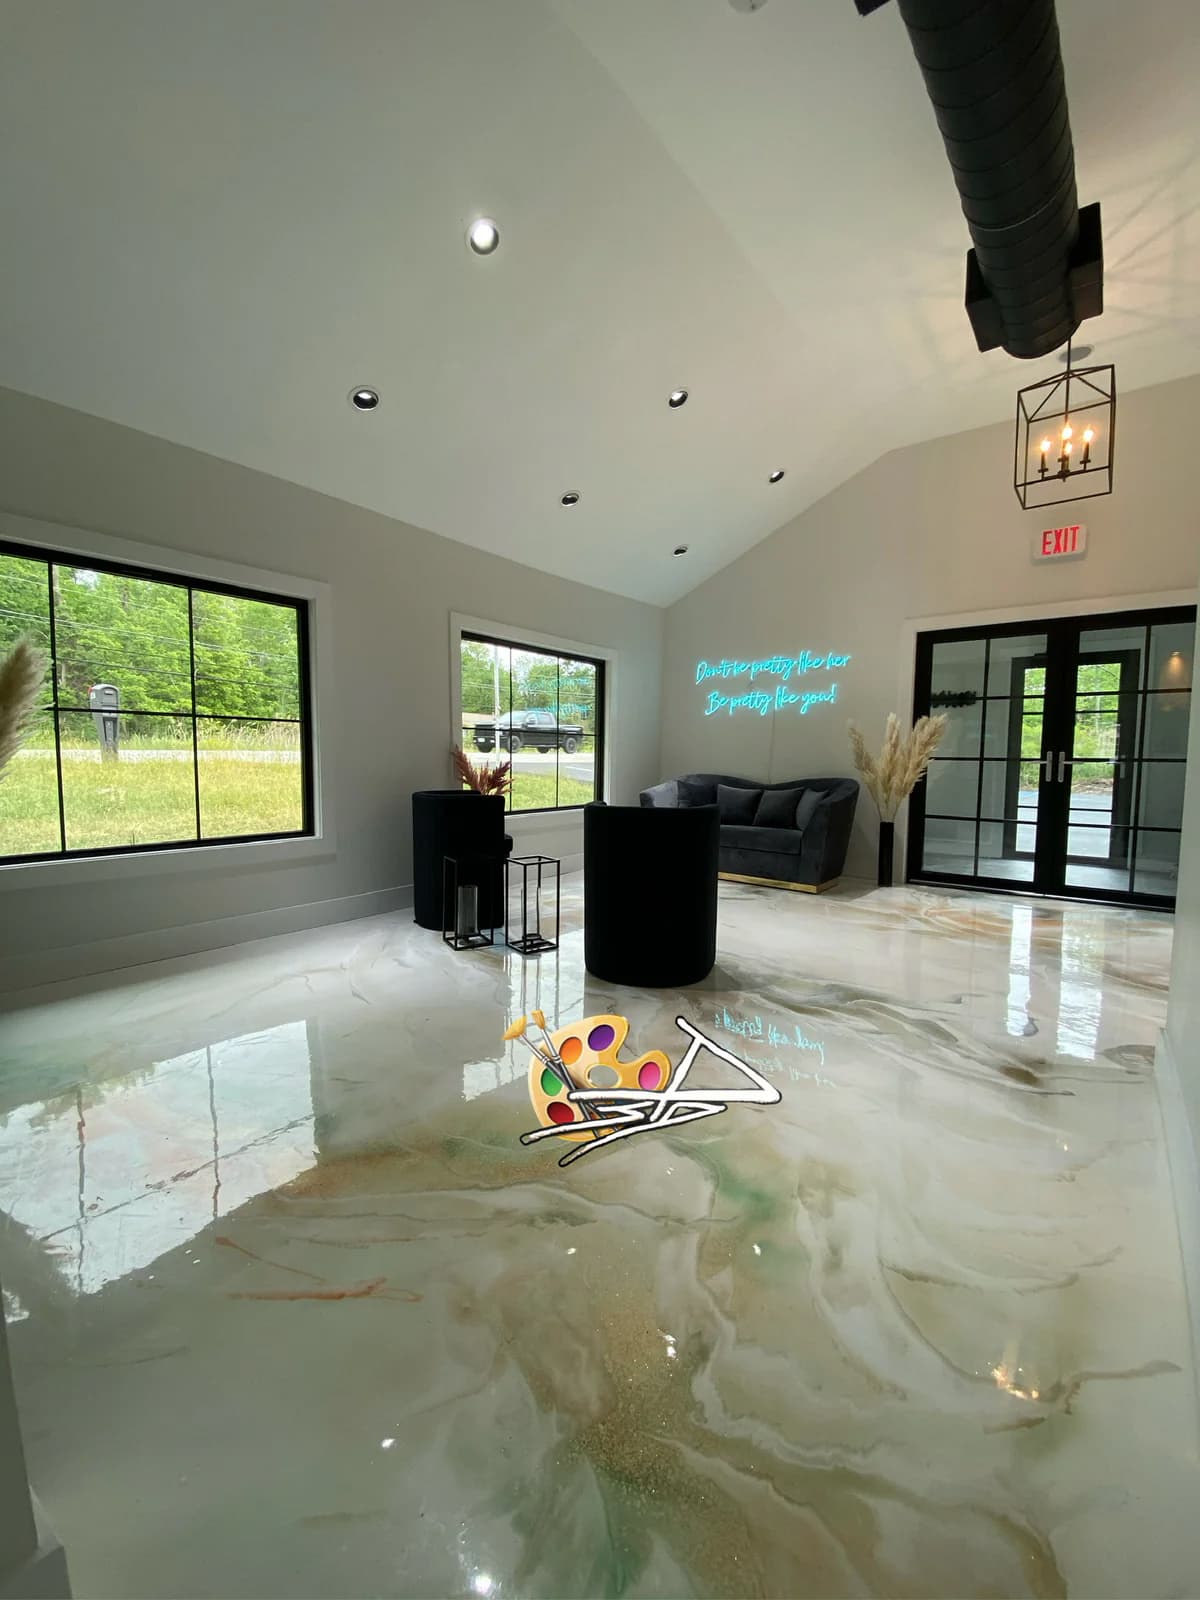
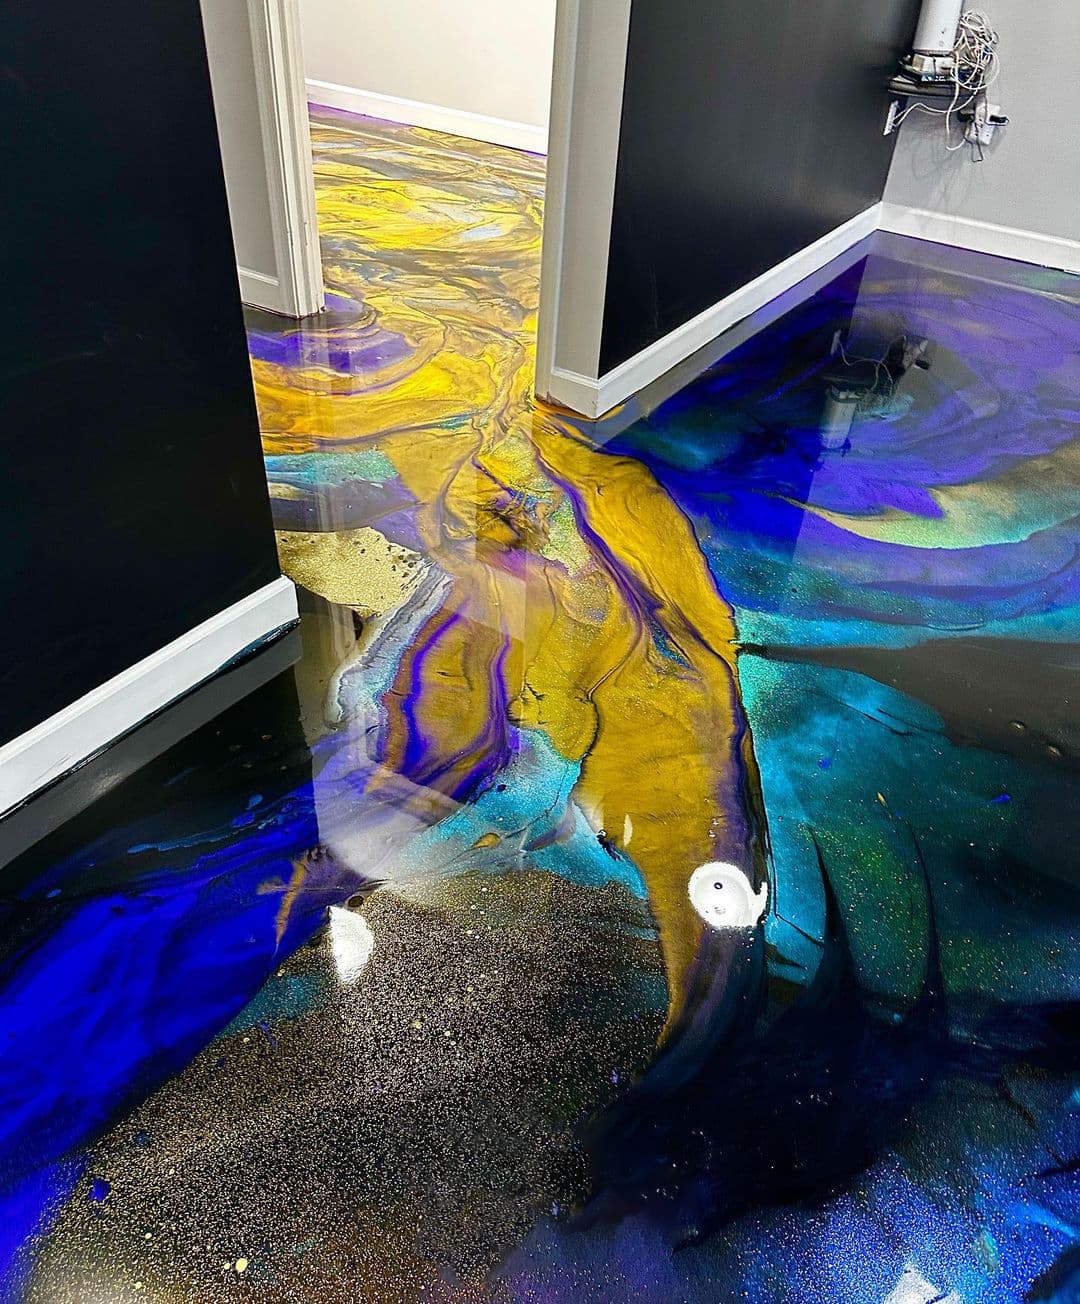
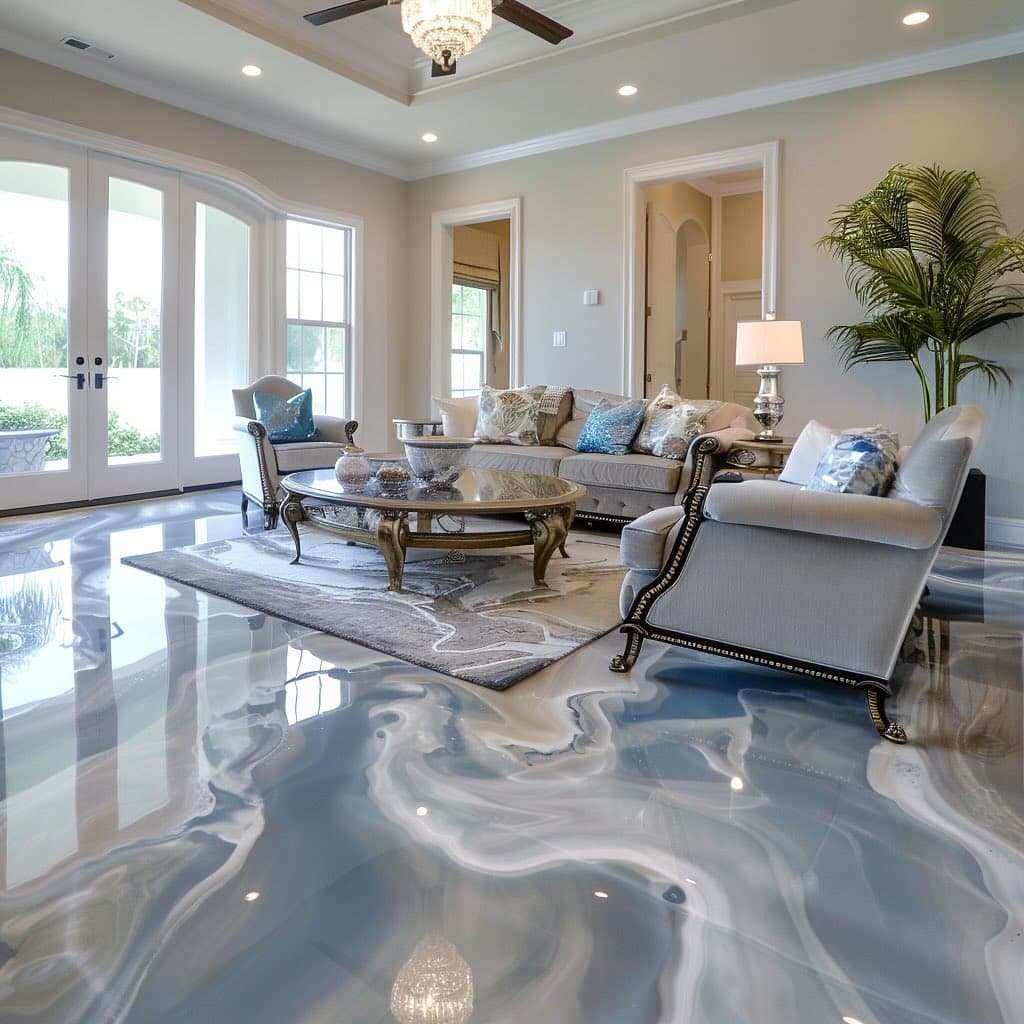
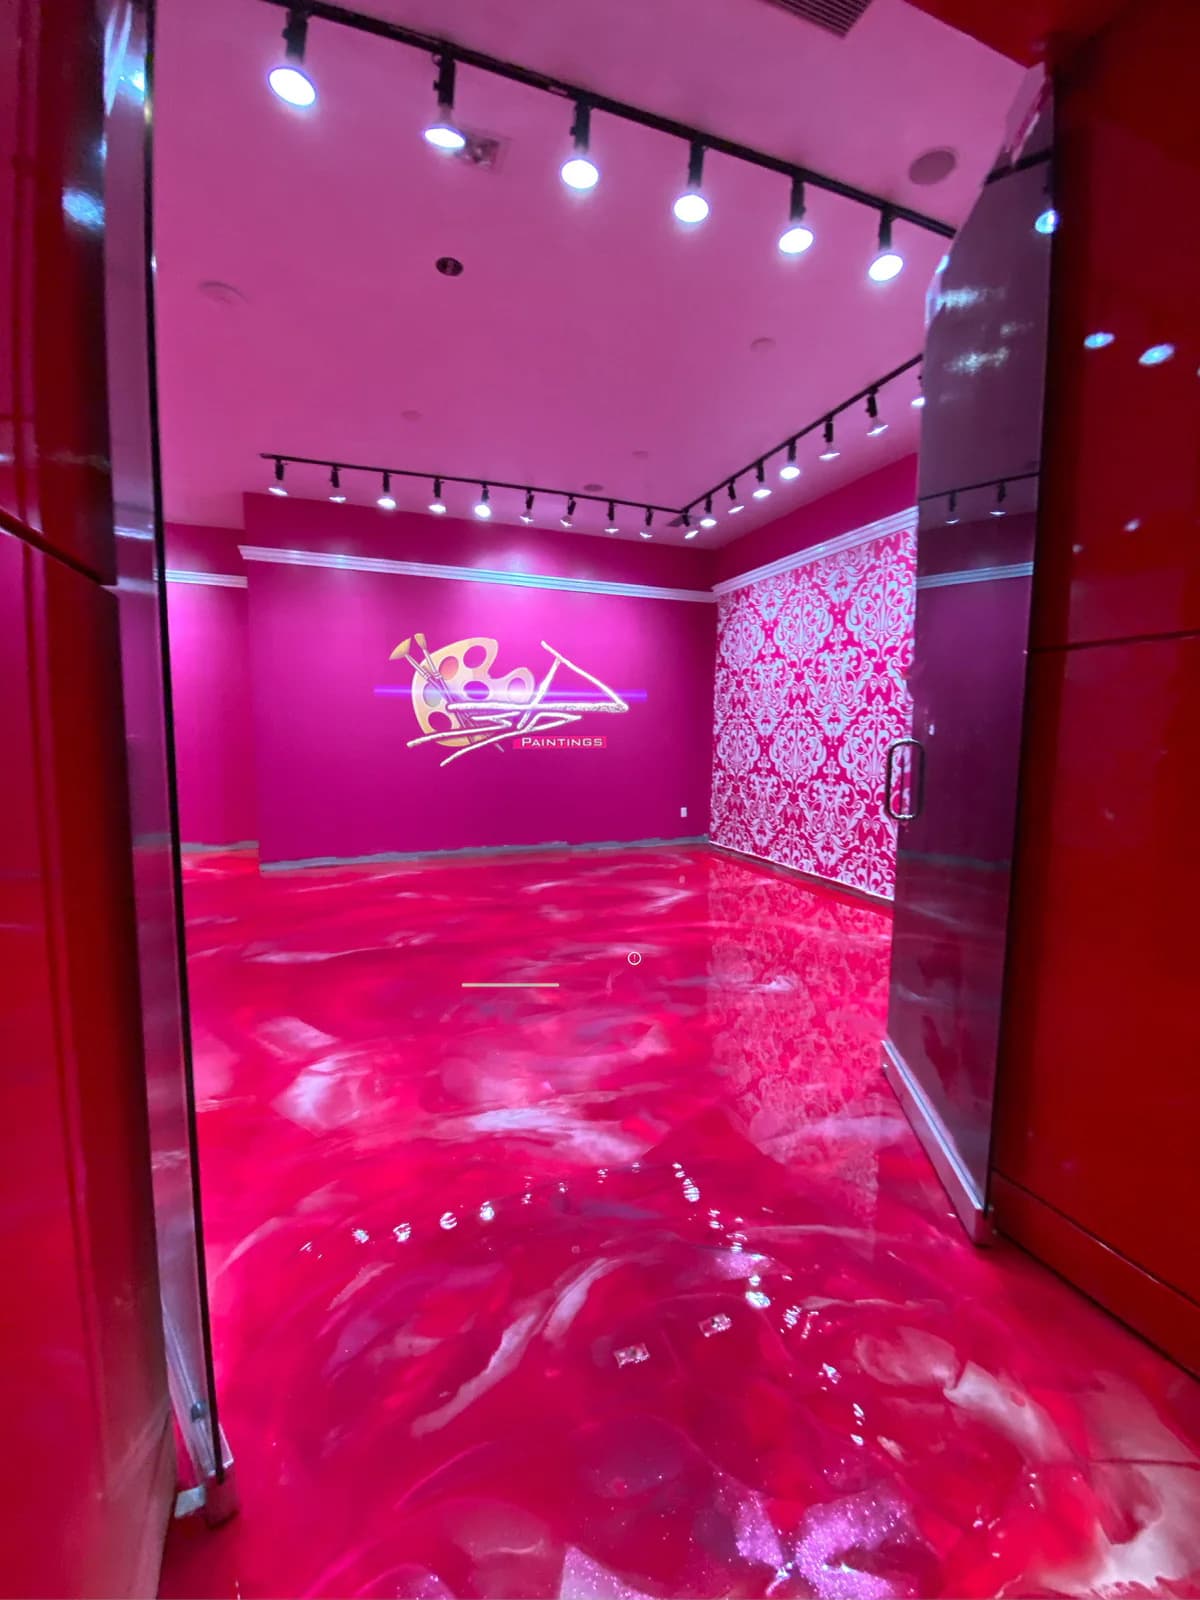
Picture yourself stepping into a world where luxury meets creativity, right under your feet. Transform your space into a high-end statement with sleek, metallic floors that radiate success. Whether it's your kitchen, living room, loft, home gym, or garage, this bold epoxy design is made for those who embrace the finer things in life. For the movers, shakers, and tastemakers, it's not just a floor—it's a reflection of your ambition and style. Stand out, step up, and let your floors shine as bright as your lifestyle.
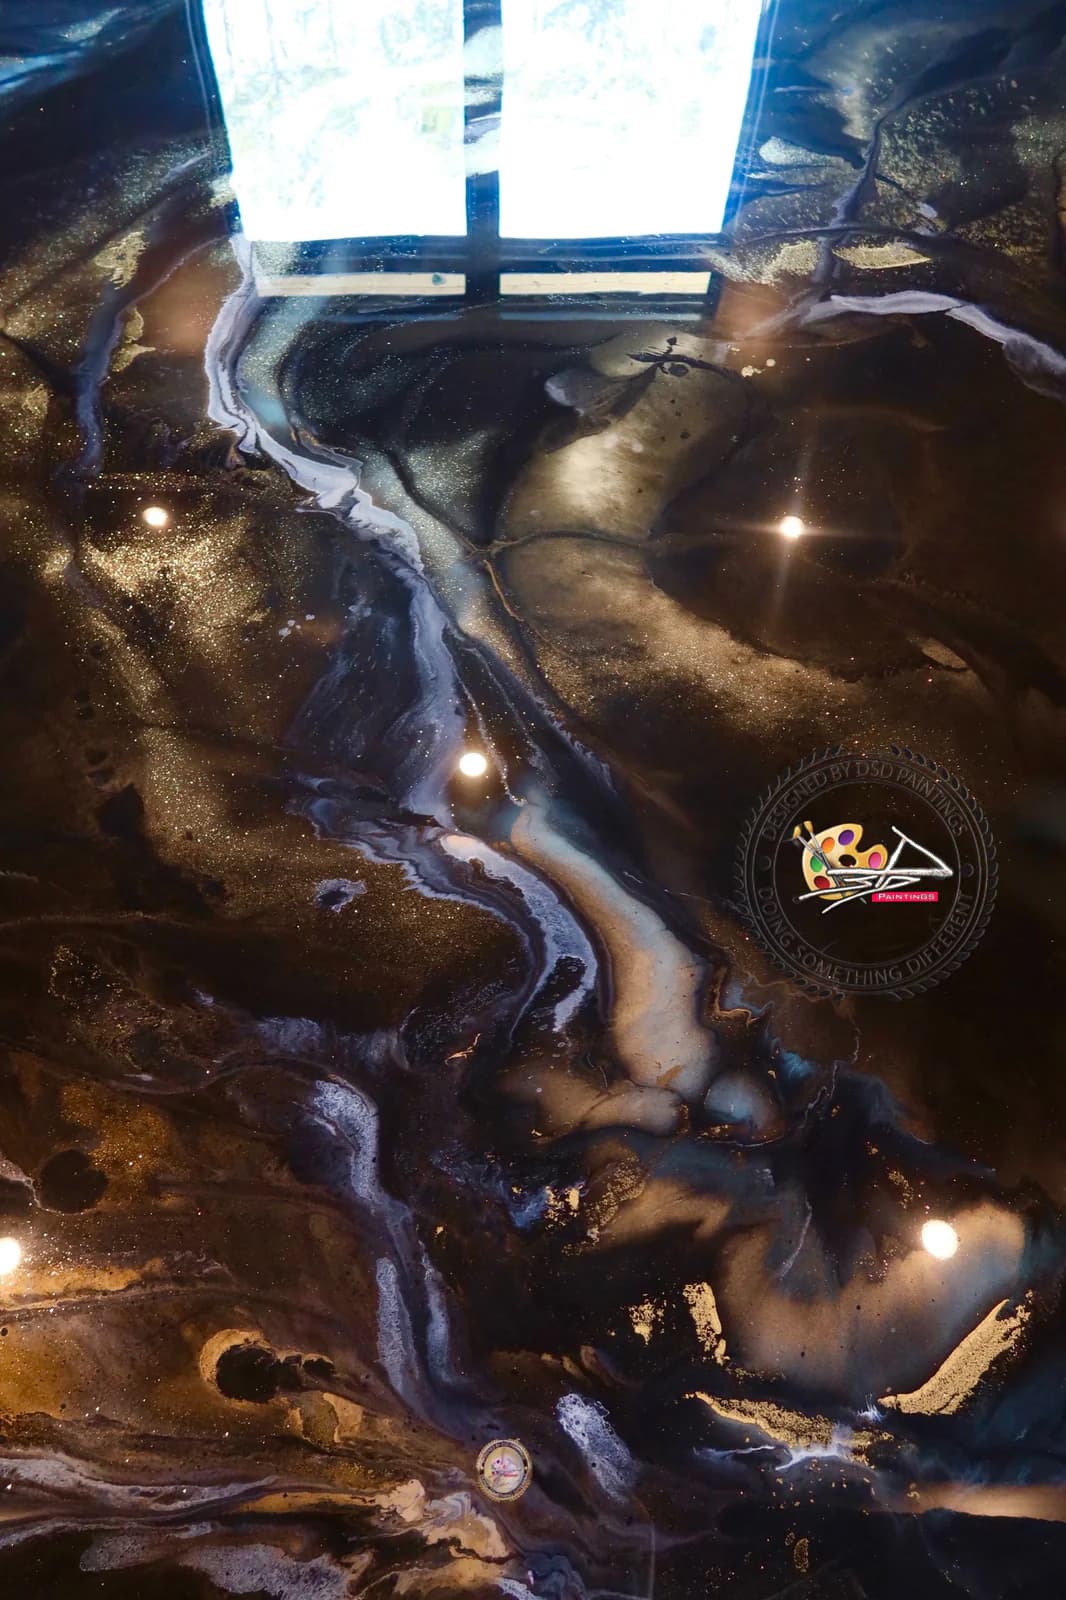
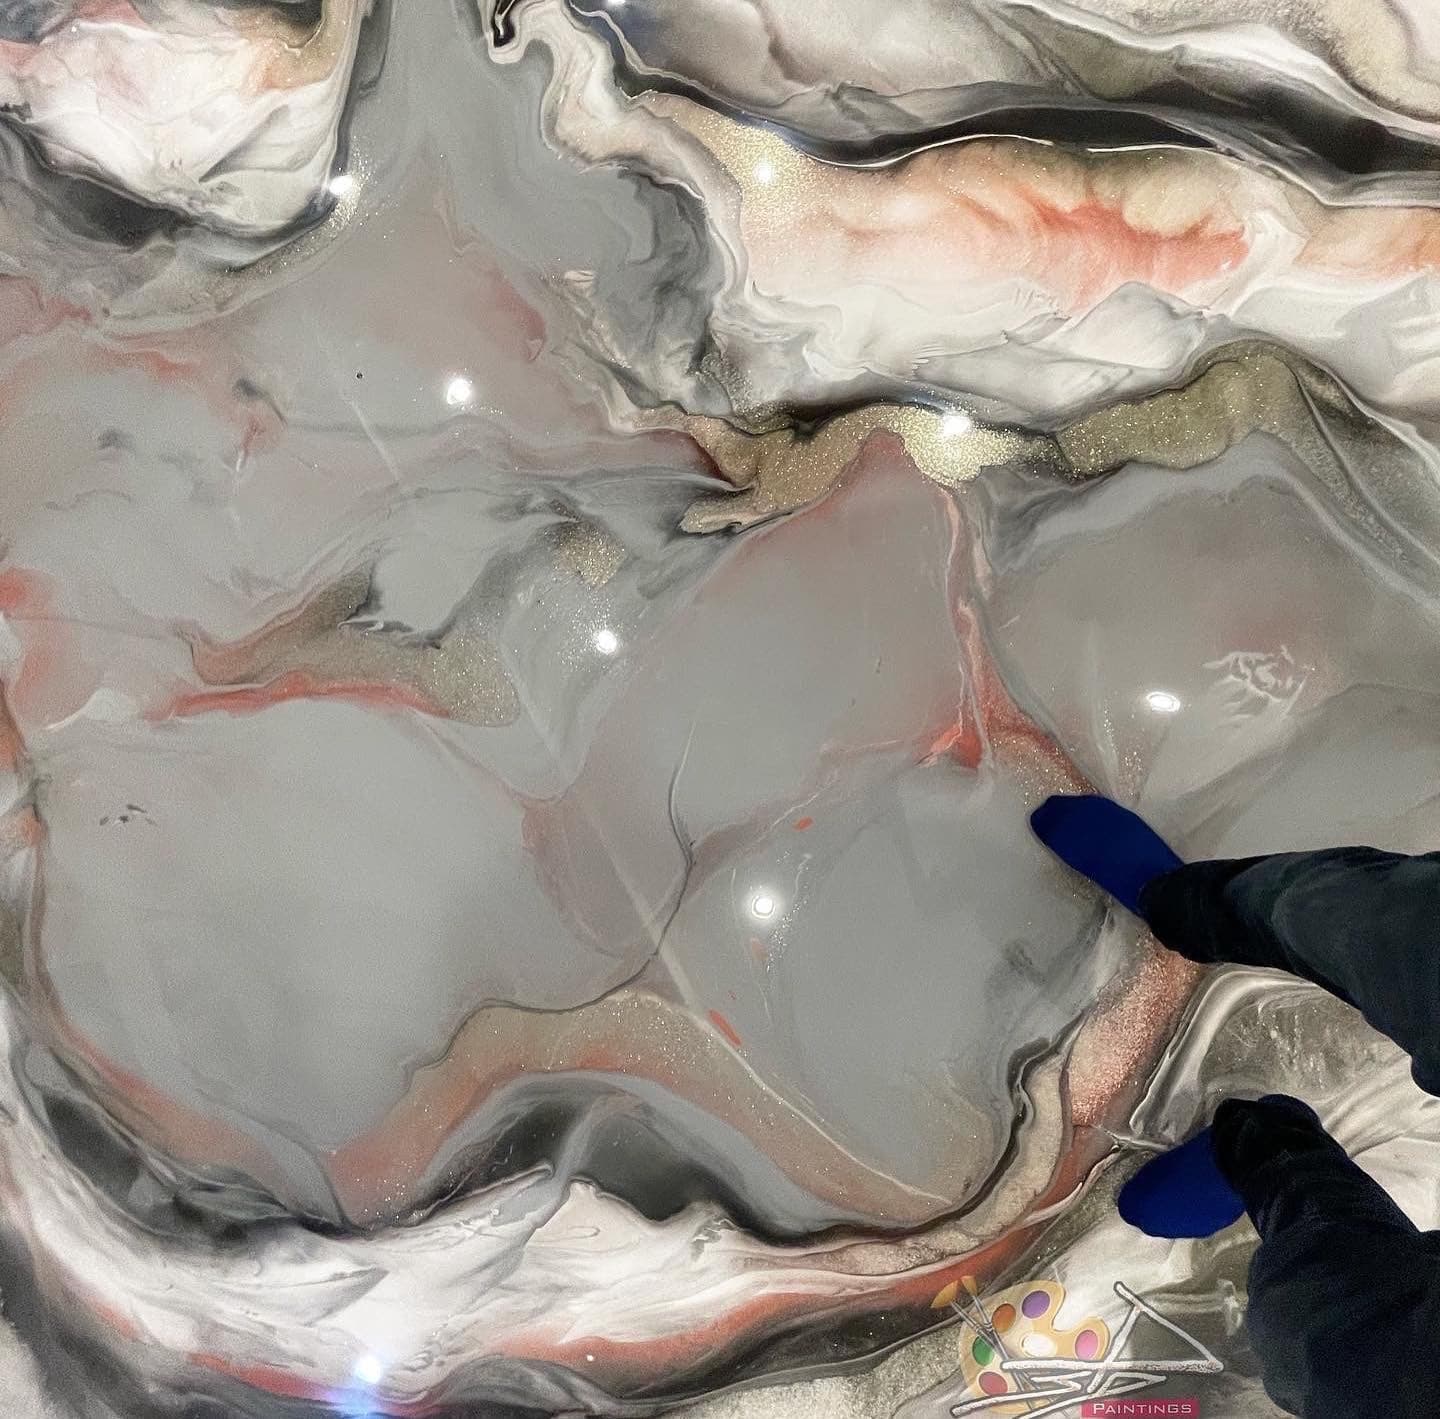
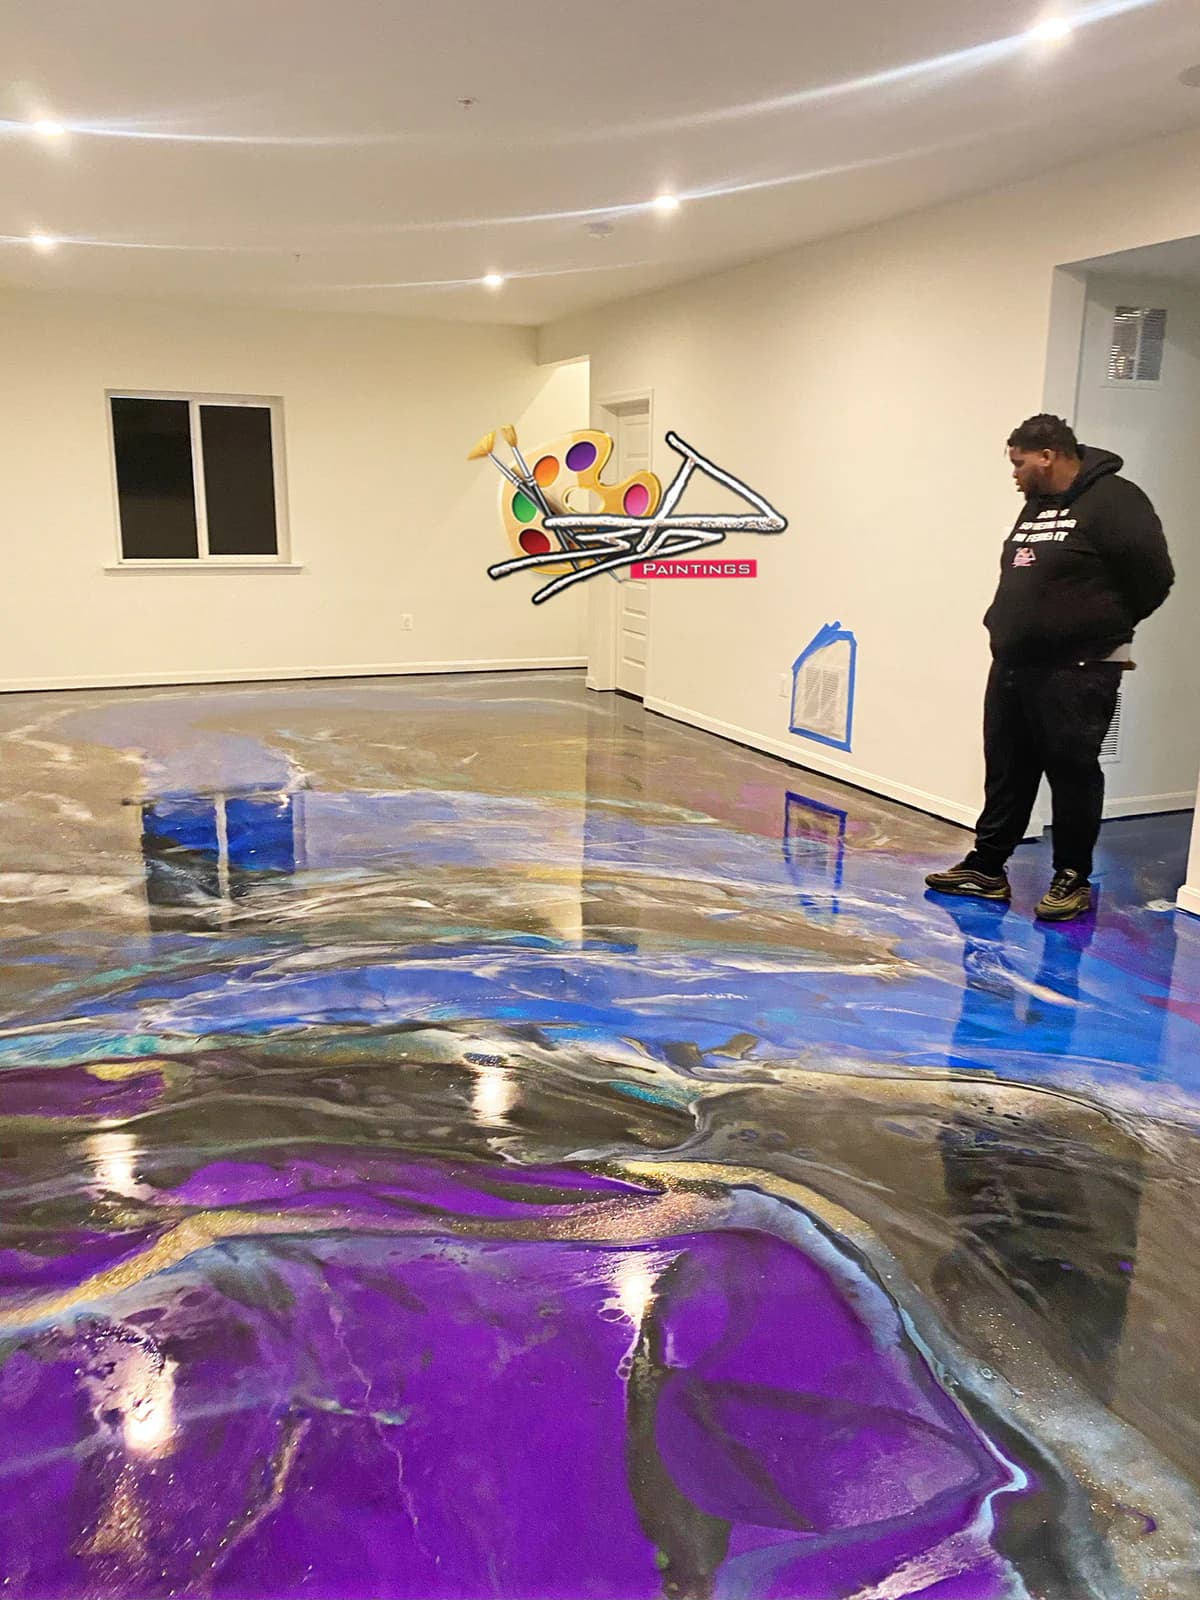
Unleash Brillant Pigments & Resins
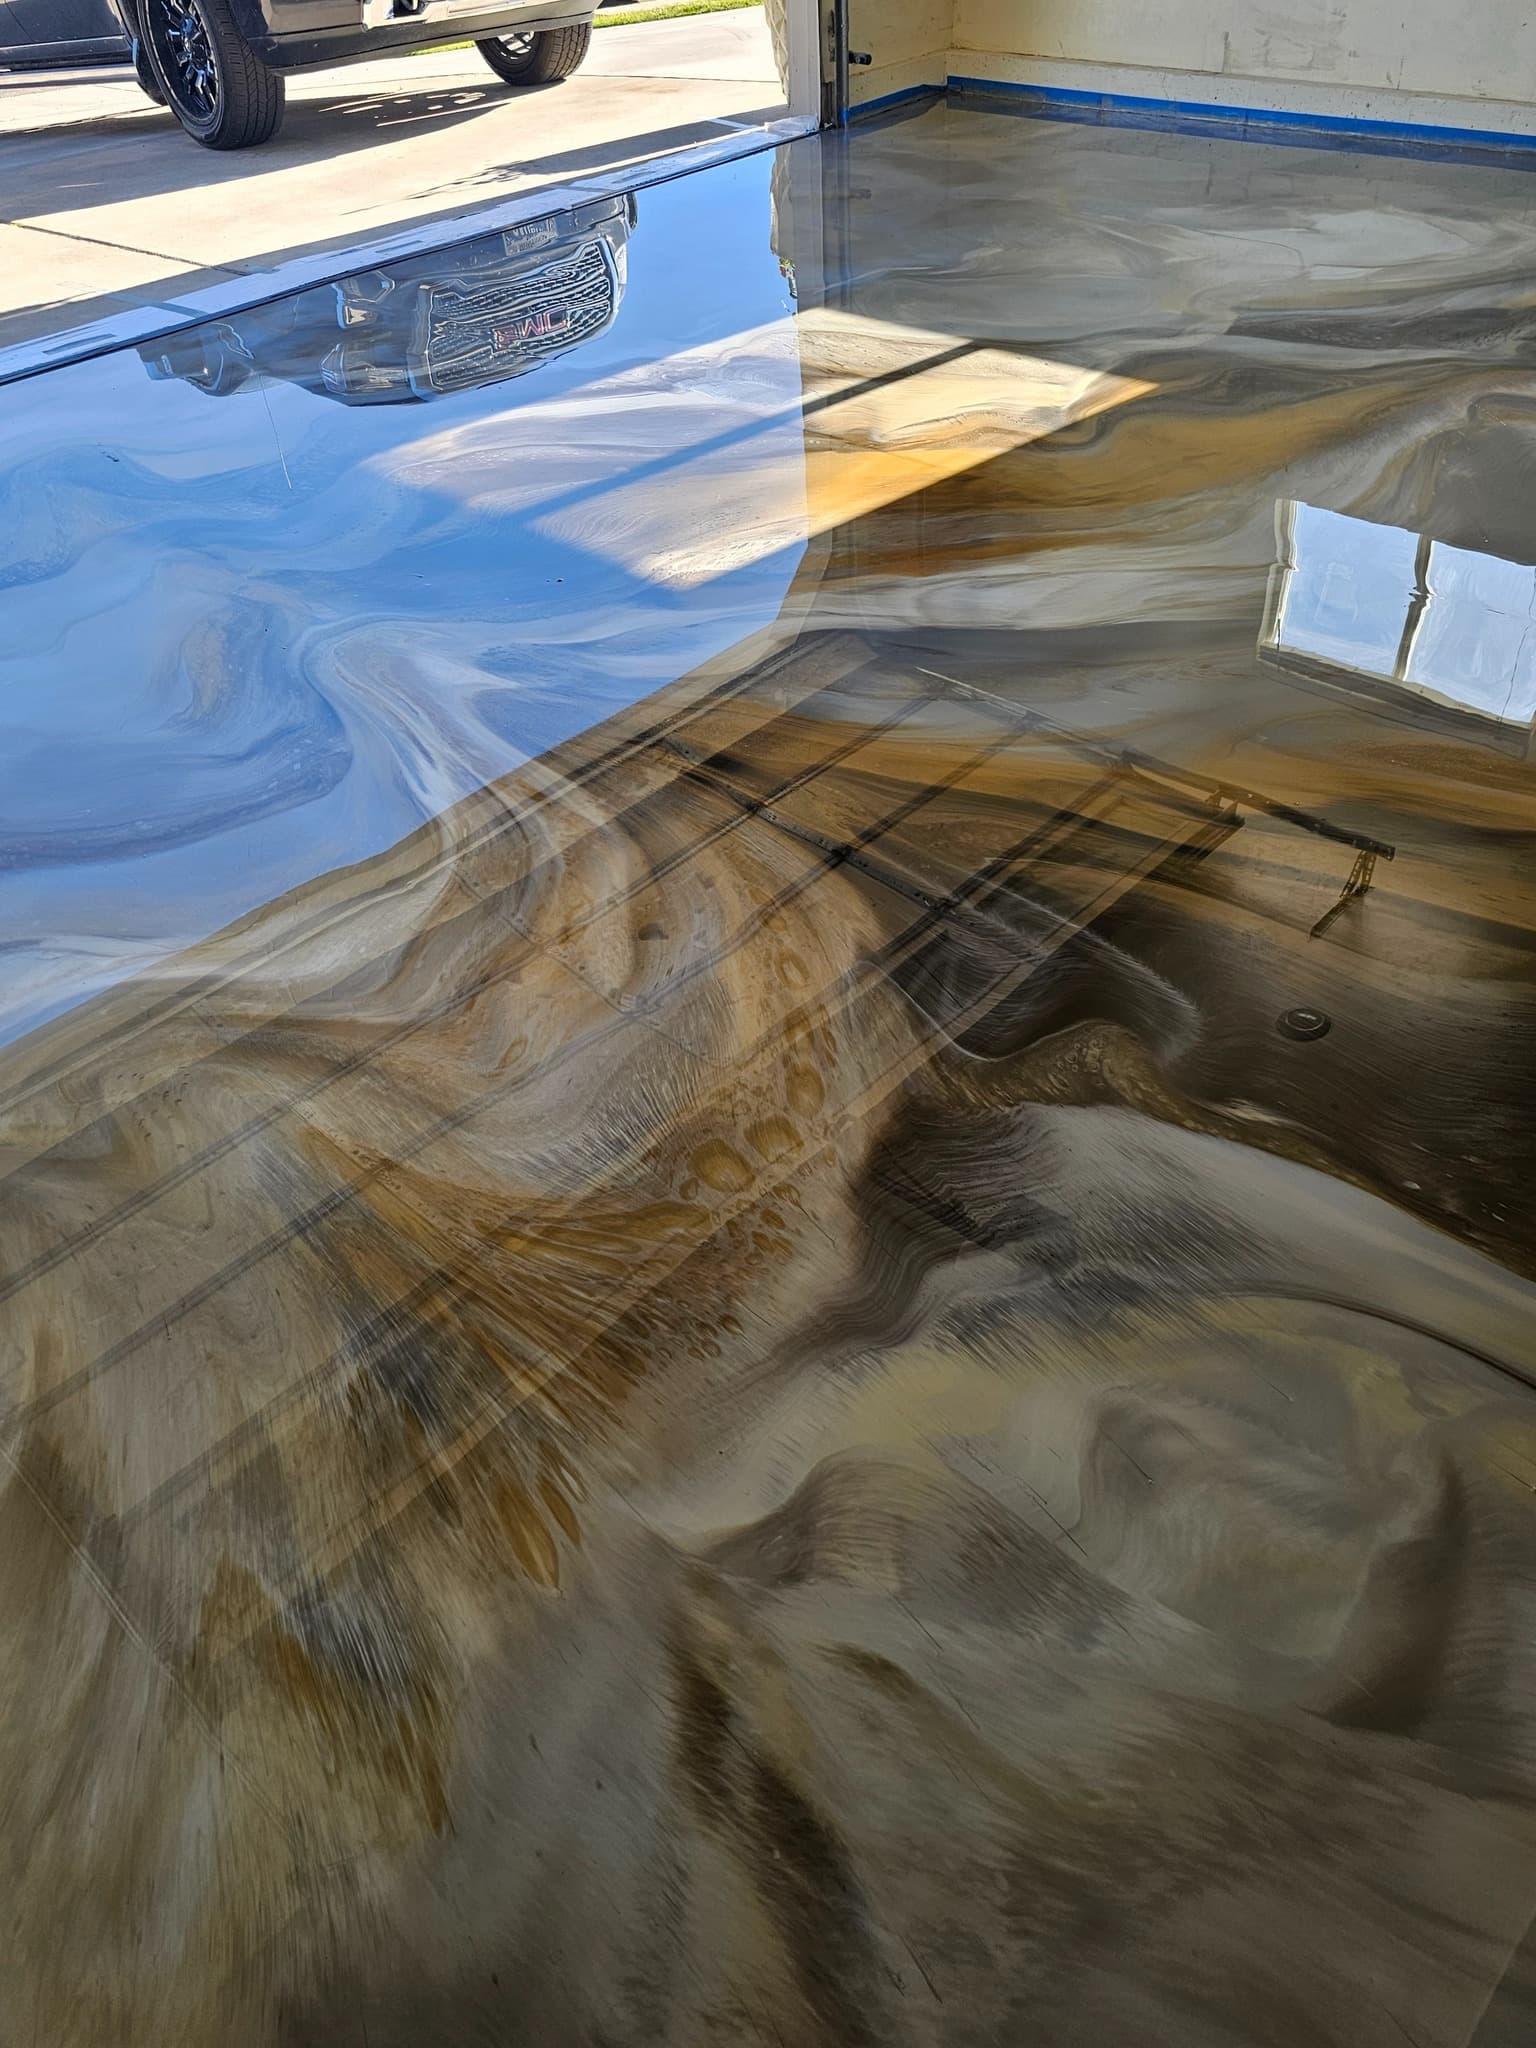
This flooring isn’t just about luxury—it’s about creating a spot that embodies strength and resilience, built to keep up with your dynamic lifestyle. Picture your space transformed into a bold, high-end showcase, where every metallic detail reflects your passion for success and status. Epoxy Max 100 was designed for those who demand both style and performance.
Suitable For
Lower Viscosity (For Design Flow)
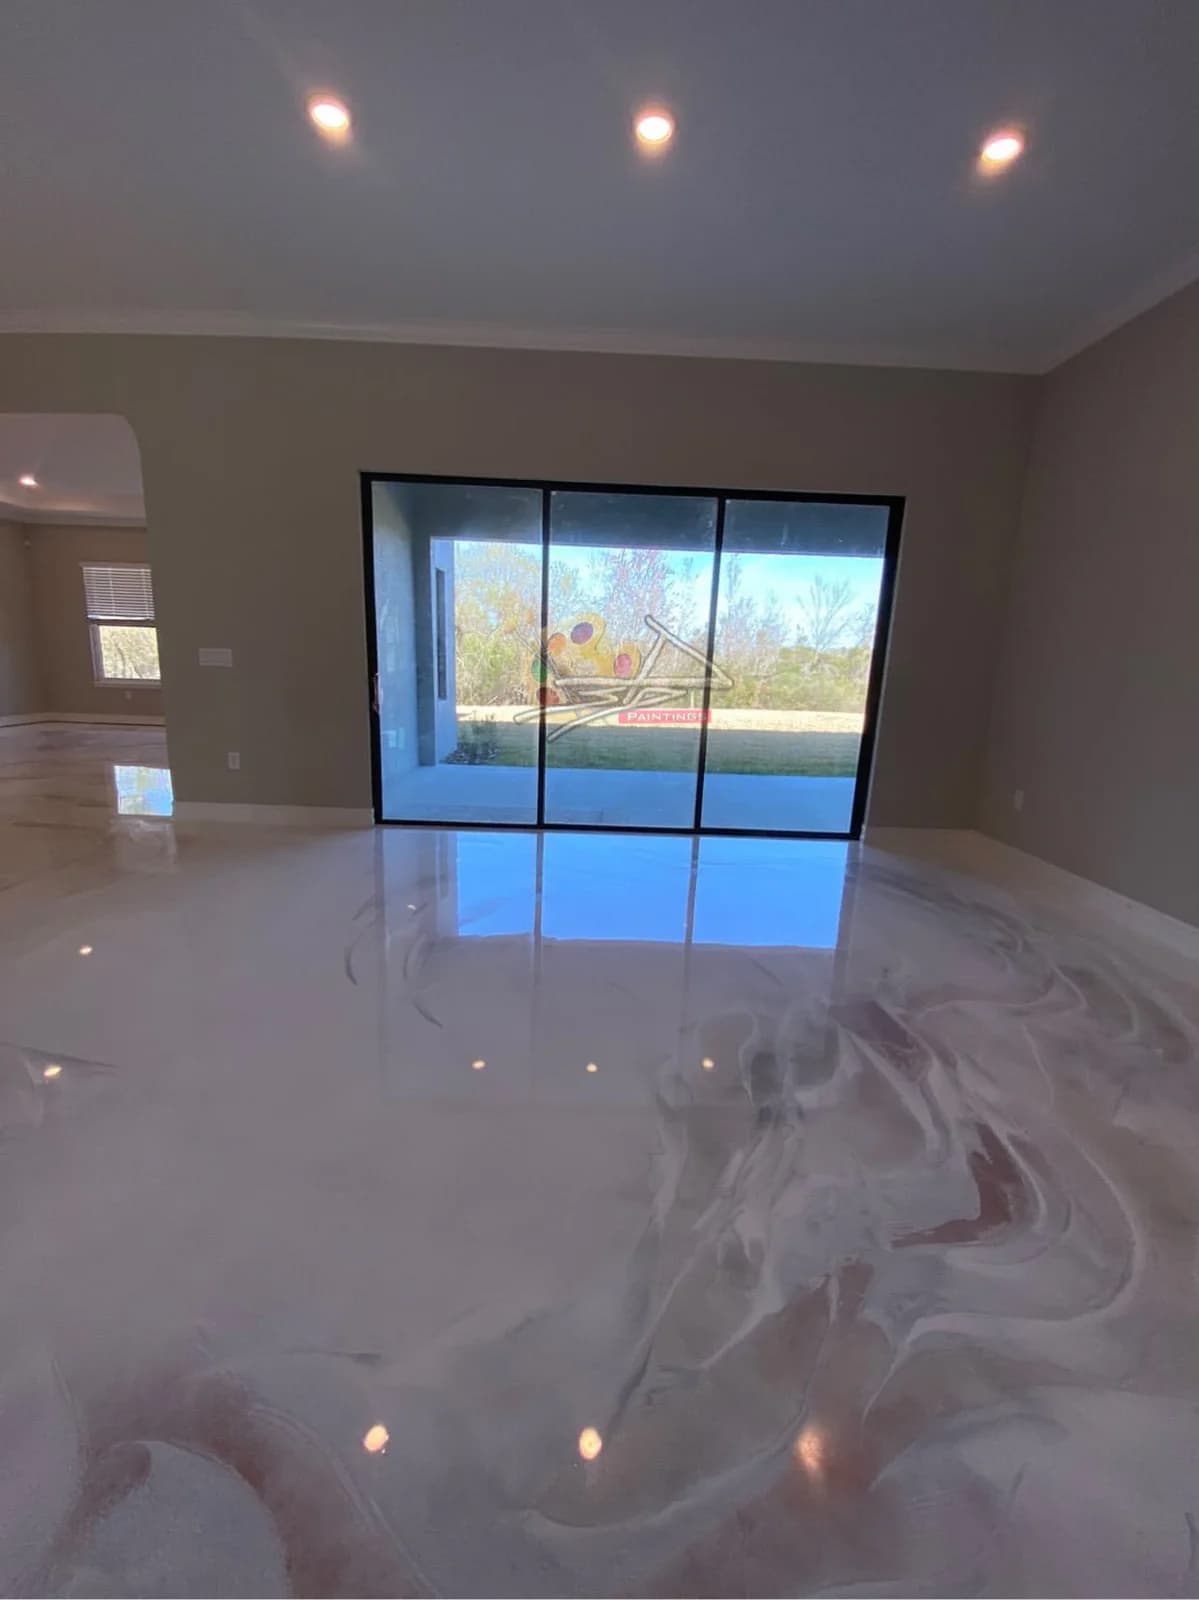
Ultra Clear for Color Vibrancy
Extended Work Time (1hr+)
Aerosol Paint Compatible
Pure-Glass™ Leveling Agents
No Acetone Required
Flexural Strength 14,000+ psi
Tensile Strength (8,400+ psi)
100% Solids Resin

Elevate & Spark Inspiration
Like Derwin's unmatched expertise infused into every detail, Epoxy Max 100 provides a solution that mirrors the same dedication and craftsmanship that defines the DSD Paintings. Crafted for the ambitious, it embodies the relentless pursuit of success and provides an uncompromising quality that matches your drive. Get ready to make a statement.
Which is best for you?
| Name |  |  |
|---|---|---|
| Protects Against | Chemicals, Oil, & Stains | Abrasion, Chemicals, & Tire Marks |
| Formula | 100% Solids | Sol-Gel |
| Chemistry | Epoxy | Ceramic / Quartz |
| Finish | High Gloss | High Gloss |
| Available as | 2 Component System | Ready to Use |
| Price |
DSD Floors

Product Details
Composition - 100% solids nanotechnology driven high-performance epoxy base coat
Self Leveling and seamless
Excellent chemical resistance and impact resistance
High strength, tenacious adhesion
Easy to Apply on warehouse floors and auto repair shops
Low VOC’s - low viscosity, no solvents
Can be used with color additives, metallic additives, decorative flakes or non-slip additives